How to use Textures & Overlays in Photoshop
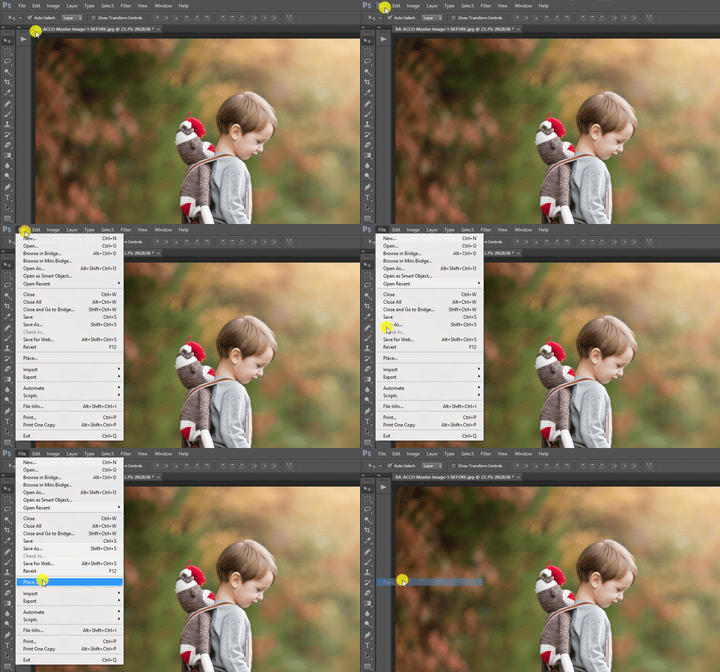
⓵ Open Your Image
⓶
Select File > Place (or "Place Embedded")
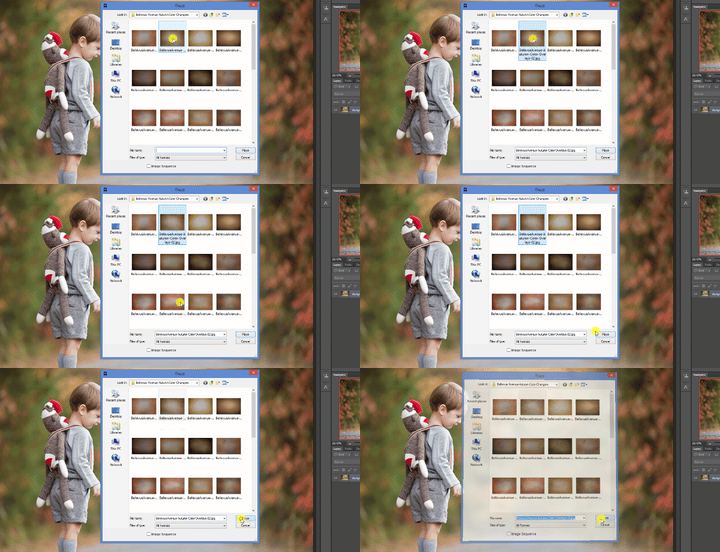
⓷
Select a Texture/Overlay & Click "Place"
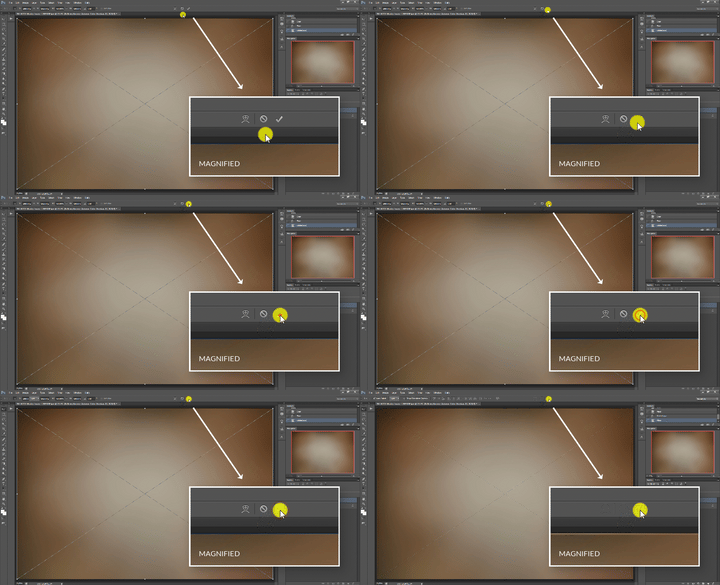
⓸
Position the Texture/Overlay, then click the Check Mark ✔ to place the Texture/Overlay
⓹
Change the Blend Mode to suit your needs - we suggest Multiply, Soft Light or Screen
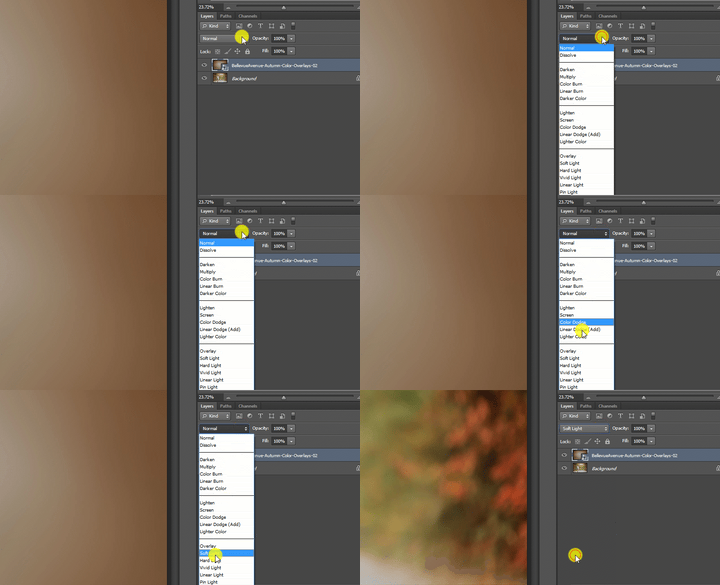
*NOTE: If you are using a PNG overlay, as opposed to a JPEG overlay (such as our Leaf & Branch Overlays), you do not need to use a blend mode since the PNG files are working with transparent pixels. Simply place the image and that's all there is to it :).
HOW TO NON-DESTRUCTIVELY
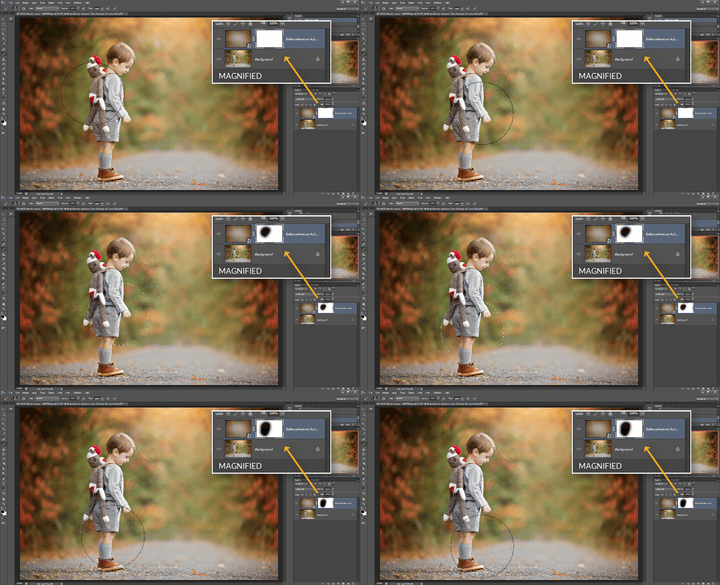
REMOVE PORTIONS OF THE TEXTURES/OVERLAYS
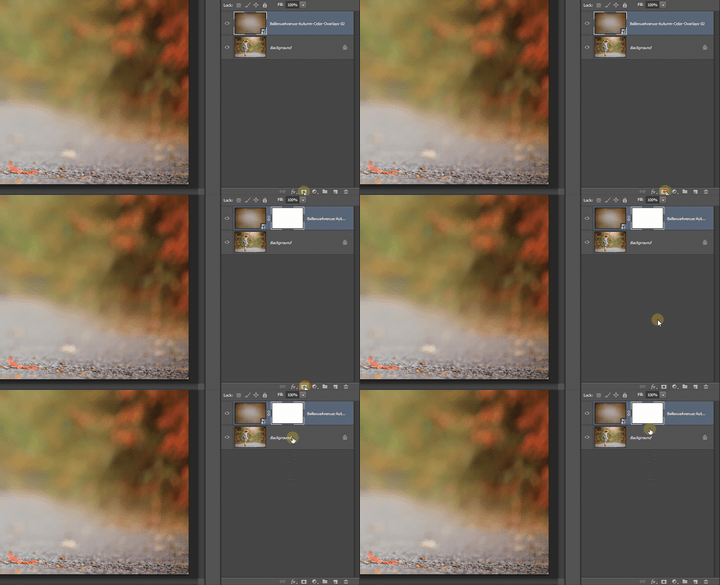
⓵ Create a Layer Mask by selecting the Layer Mask Icon ◘
( alternatively, you can select Layer > Layer Mask > Reveal All to achieve the same thing )
⓶
Using a soft, black brush paint over the areas on the layer mask that you would like to erase
